Star Wars The Force Unleashed: Mission 09 Death Star - part 2
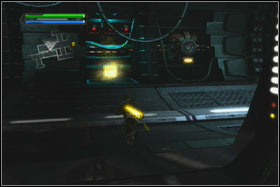 | 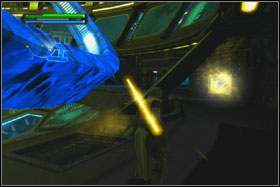 |
When you will back to the tube, you will see the holocron on the opposite side. On the right side of this place you will see three moving huge rings. Ignore them for a while and back to the bulkhead from where you took the cube and enter inside. Go one level down and after defeating the enemies enter inside the room with rings. Around this room is running narrow shelf. Behind one of the metal bracket you will find next holocron (Force Power Sphere). Take him and back to the top.
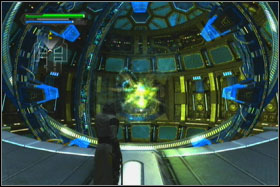 | 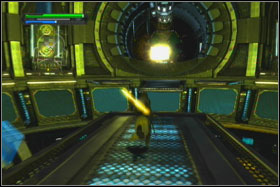 |
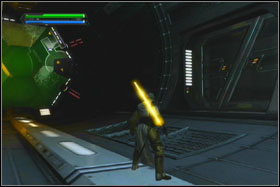
When the ray will be shut down, stand in forward of rings and use Force Grip to grab first of them. Place him in vertical position (you should be able to hear click) and grab another. Level him with previous and take another. When all rings will be removed, the footbridges will draw out and you will able to go forward. The game with the rings will be repeated two times. While moving to the next room, you should gain tenth holocron.
 | 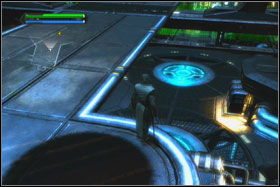 |
When you go out from the tube, you will reach the big room, where all rays meet and unite in one big stream of energy, which is capable to destroy whole planet. Before jumping down, explore footbridge on left of the exit. You should find another holocron.
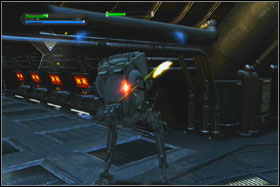 | 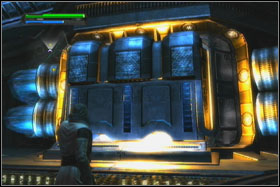 |
Jump down and destroy two AT-ST. Next use the Force Grip and push big generator in his place.
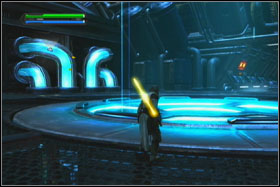 | 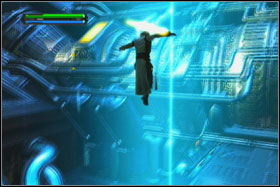 |
This action will activate two elevators. Stand on one of this elevators and ride to the top.
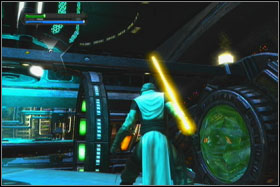 | 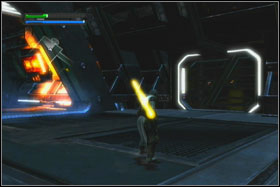 |
Kill all Jumpstormtroopers on the top level. This will make further exploration quite easy. You should be able to see the holocron under you, which is looking as unavailable (Black Lightsaber Crystal). You can easily get him. Just jump on the metal bracket near to him. Next cube is located one level down, behind the closed bulkhead.
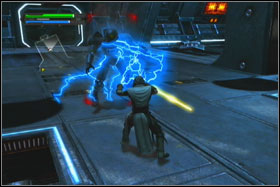 | 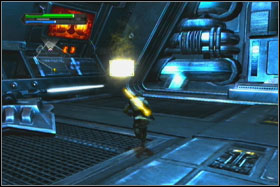 |
Another one is placed on lower level and is guarded by several stormtroopers and two Purge Troopers. When you will gather fourteen holocrons, ride up with the elevator on the level, which is located slightly above the platform, which is leading to the Palpatine's chambers. From there you can jump on this platform.
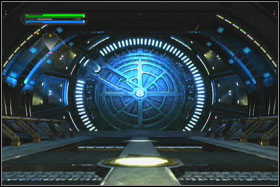 | 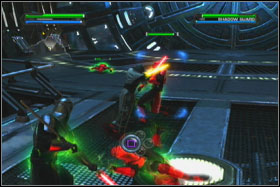 |
When you do this, round bulkhead will open, and you will be have to fight with some imperial guards and one Shadow Trooper. Use several times the Force Repulse and finish wounded enemies. This should be enough.
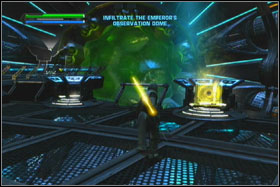 | 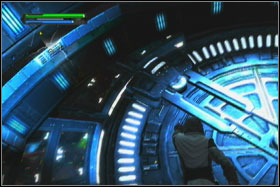 |
Take the last holocron (Force Combo Sphere) and approach to round bulkhead. Grab the lock with Force and move him from the left to right side. You will have to fight with Vader and the Imperator. ATTENTION! After defeating Vader you will be able to choose between light or dark side of the Force. If you will choose the light side, you will be have to defeat the Imperator, what will be very hard.
- Star Wars: The Force Unleashed Game Guide & Walkthrough
- Star Wars The Force Unleashed: Game Guide
- Star Wars The Force Unleashed: Walkthrough
- Star Wars The Force Unleashed: The Prologue
- Star Wars The Force Unleashed: Mission 01 TIE Fighter Factory - part 1
- Star Wars The Force Unleashed: Mission 01 TIE Fighter Factory - part 2
- Star Wars The Force Unleashed: Mission 02 Raxus Prime - part 1
- Star Wars The Force Unleashed: Mission 02 Raxus Prime - part 2
- Star Wars The Force Unleashed: Mission 02 Raxus Prime - part 3
- Star Wars The Force Unleashed: Mission 03 Felucia
- Star Wars The Force Unleashed: Mission 04 The Empirical
- Star Wars The Force Unleashed: Mission 05 Cloud City
- Star Wars The Force Unleashed: Mission 06 Imperial Kashyyyk - part 1
- Star Wars The Force Unleashed: Mission 06 Imperial Kashyyyk - part 2
- Star Wars The Force Unleashed: Mission 07 Imperial Felucia - part 1
- Star Wars The Force Unleashed: Mission 07 Imperial Felucia - part 2
- Star Wars The Force Unleashed: Mission 08 Imperial Raxus Prime - part 1
- Star Wars The Force Unleashed: Mission 08 Imperial Raxus Prime - part 2
- Star Wars The Force Unleashed: Mission 09 Death Star - part 1
- Star Wars The Force Unleashed: Mission 09 Death Star - part 2
- Star Wars The Force Unleashed: Walkthrough
- Star Wars The Force Unleashed: Game Guide
You are not permitted to copy any image, text or info from this page. This site is not associated with and/or endorsed by the developers and the publishers. All logos and images are copyrighted by their respective owners.
Copyright © 2000 - 2025 Webedia Polska SA for gamepressure.com, unofficial game guides, walkthroughs, secrets, game tips, maps & strategies for top games.
