Quake 4: Waste Processing Facility
Before we start, one useful tip. Try not to waste ammunition for Rocket Launcher, HyperBlaster, Railgun (option), Lightning Gun and Nailgun. These guns will be useful for the fight against the boss at the end of this stage.
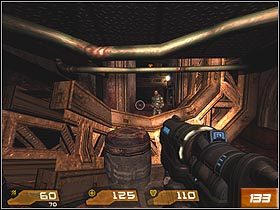
After the channel's exit you'll meet allied soldiers. Unfortunately, he's located on the other side of the barricade (#133). Enter the tunnel before device with poisoned gas will appear (it can deprive you of health, so be careful). A few dozen seconds later you'll run into the new enemy - Zombie. Undead in Quake 4 are relatively fast and they're spitting dangerous acid (some of them use weapons too). Remember about saving ammunition. Shotgun and Grenade Launcher are the most effective at this moment and should be enough.
 |  |
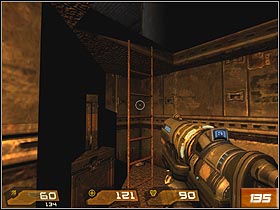 |  |
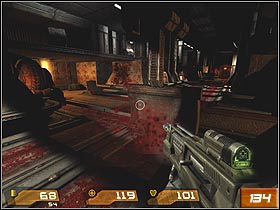
Walk ahead and eliminate opponents all the time. Stop in the room, where you'll see bulldozers moving on the floor (#134). You must get to the other end of the tunnel, avoiding the contact with moving traps because they're able them to hurt you effectively. When you'll reach the place, look inside the last gap. There will be a passage and small ladder (#135). Climb up. Hide behind chests, choose Railgun and watch the environment carefully. The big Tacticals number will appear nearby - they'll try to kill you from cover. Eliminate them one by one and (after battle), visit rooms behind the door (useful ammunition lies there).
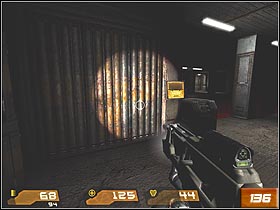
In order to penetrate into the other end of the channel you have to use the small panel (#136) to create the bridge. Visit remaining rooms there, recover everything you can and go trough the last door. During the attempt to pass onto the next bridge, you'll fall down. Retreat immediately (towards blue flare) and start Zombie's extermination. There will be quite a lot of them, so be careful and don't get yourself killed.
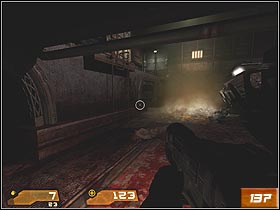 | 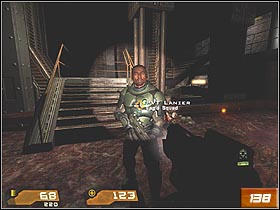 |
After passing through the small tunnel, you'll hear the characteristic hiss spent by the 'acid device'. You should find the shelter under the bridge (#137). When the threat will pass away, run to the door. You will meet the soldier seen earlier (#138), with who move towards stairs (if you look inside the tunnel on the right side earlier, you'll find some armor and ammunition).
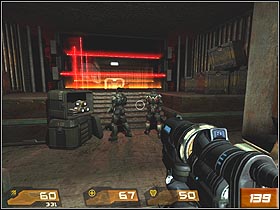
You must break through the next rooms and eliminate Tacticals on the way. Be vigilant because Stroggos are able to hide well and attack only when you'll approach them. Eventually, you'll reach the other soldiers (#139).
Deactivate Laser Scanner
You'll receive Rocket Launcher upgrade from the engineer (now you can target rockets with ray and shoot them up quicker). The group will ask you to go through the laser trap and deactivate it. It's not causing trouble for Strogg after all.
 | 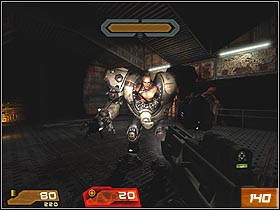 |
Recover health, armor and smoothly go through the laser field. Save the game before entering the door. Once inside the next hall, you'll fight with Voss, err, robot (#140) created by Stroggos from your former commander. Taking care of him isn't an easy task and requires a few words of the comment.
After beginning of the fight, you'll see energy's belt in the top part of the screen. Liveliness is being symbolized by the orange color but in order to hurt Voss actually, you have to get rid of his shields first (grey belts all around). It requires non-stop fire on the target with HyperBlaster / Nailgun, or sending a few rockets. When the armor disables, hit the enemy with all you got. Voss will try to approach the electric field to load shields - try to hurt him as much as you can before he'll complete this operation.
 |  |
Don't forget that fighting with Voss is a hard challenge. He uses Dark Matter Gun and also can throw balls, that summon other Stroggos. He shoots rockets and machine gun too. As you can see, the fight won't be like taking candy from a baby. The best advice is to run all the time and avoid shots from Dark Matter Gun at all cost (purple balls). With rockets you can easily destroy the containers, which Voss is using to teleportate his support. However, it's better to leave the missiles for the main enemy and destroy new, showing up enemies at the opportunity.
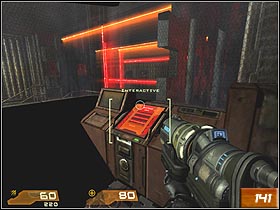
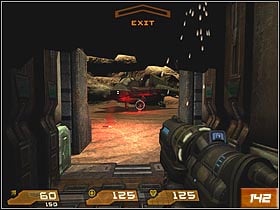
When the fight ends, go through the door located right next to the hall's entrance. Once inside, press the button deactivating the laser field (#141). Now, the rest of the team can move forward. Before you'll end this stage, you'll have to fight some Tacticals, that accommodated themselves at top level of stairs. Eliminate the enemy's soldiers in turn and carefully approach the top. After going through two passages, you'll reach the confederate ship (#142). It's time to return on Hannibal's deck.
- Quake 4 Game Guide & Walkthrough
- Quake 4: Game Guide
- Quake 4: Walkthrough
- Quake 4: Air Defense Bunker
- Quake 4: Air Defense Trenches
- Quake 4: Hangar Perimeter
- Quake 4: Interior Hangar
- Quake 4: MCC Landing Site
- Quake 4: Operation Advantage
- Quake 4: Canyon
- Quake 4: Perimeter Defense Station
- Quake 4: Aqueducts
- Quake 4: Aqueducts Annex
- Quake 4: Nexus Hub Tunnels
- Quake 4: Nexus Hub
- Quake 4: Strogg Medicial Facilities
- Quake 4: Construction Zone
- Quake 4: Dispersal Facility
- Quake 4: Recomposition Center
- Quake 4: Putrification Center
- Quake 4: Waste Processing Facility
- Quake 4: Operation Last Hope
- Quake 4: Data Storage Terminal
- Quake 4: Data Storage Security
- Quake 4: Data Storage Terminal - Return
- Quake 4: Tram Hub Station
- Quake 4: Tram Rail
- Quake 4: Data Processing Terminal
- Quake 4: Data Processing Security
- Quake 4: Data Processing Terminal - Return
- Quake 4: Data Networking Terminal
- Quake 4: Data Networking Security
- Quake 4: Nexus Core
- Quake 4: The Nexus
- Quake 4: Walkthrough
- Quake 4: Game Guide
You are not permitted to copy any image, text or info from this page. This site is not associated with and/or endorsed by the developers and the publishers. All logos and images are copyrighted by their respective owners.
Copyright © 2000 - 2025 Webedia Polska SA for gamepressure.com, unofficial game guides, walkthroughs, secrets, game tips, maps & strategies for top games.
