DBD - Best Knight Builds
Have you bought Knight in Dead by Daylight and are wondering how to play this character? Here you will find a description of his powers and the best builds.
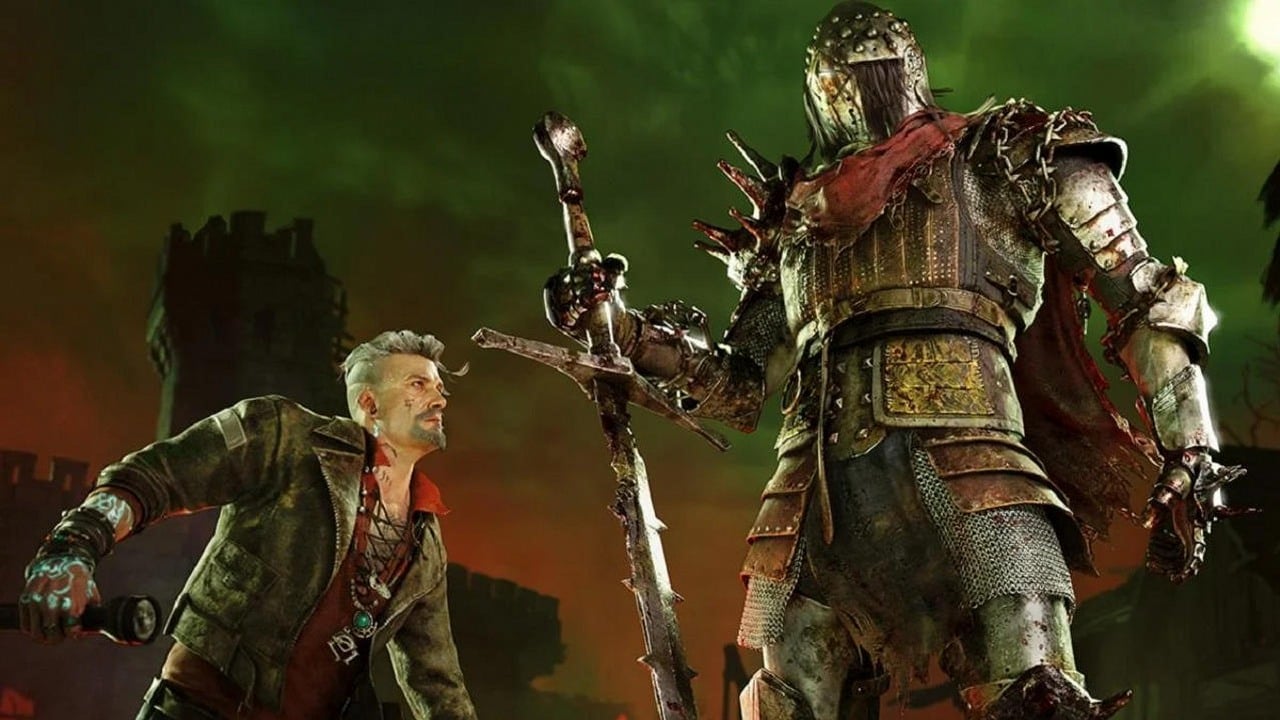
Dead by Daylight has recently received a new assassin - Knight. He has a very specific power, which enables him to summon guards. Below you will find an overview of the character and the best builds..
Knight is not a free killer. You can purchase him in the DLC titled Chapter 26: Forged in Fog. As he is an original killer created by Behaviour Interactive, you can also unlock him for 9000 Iridescent Shards.
Knight - power
In terms of basic parameters. Knight is not a particularly distinctive killer. He has a moderate height and moves at a speed of 4.6 m/s. His terror range, on the other hand, is 32 meters.
Like every killer in DBD, Knight has a unique power. In his case, it is Guardia Compagnia. With it, he is able to summon one of his three companions. The guards always appear in the same order, and which one will appear is indicated by an icon in the lower left of the screen.
Icon | Guardian | Function |
 | The Carnifex | Destroys objects faster and takes longer to hunt. |
 | The Assassin | Moves faster when hunting and applies deep wound status when hit. |
 | The Jailer | Patrols longer and moves faster. It has a longer detection range. |
When you summon the guard you can do two things:
- point him to a generator, pallet or wall to destroy;
- designate a path to patrol. Then, if a survivor enters its detection range, it will automatically start hunting. It will continue until time runs out or the guard hits the survivor.
- DBD - List of New Skins From Resident Evil
- DBD Devout and Unbroken Emblems - How to Get Them
- DBD The Dredge Character Description
Knight - the best builds
Knight is a very flexible character when it comes to builds. Actually, any popular and commonly used perk layouts will work very well on him. Therefore, you can freely experiment with this character and adjust it to your gameplay style.
However, if you can't make up your mind, below you will find two sample builds that will work well on this particular killer.
Aggressive pursuit
This build is based on aggressive gameplay and provoking survivors to stun the assassin. With a combination of reduced regeneration time, automatic pallet destruction and imposing vulnerable status on victims, you can end the chase almost immediately.
Icon | Perk | Function |
 | Spirit Fury | After destroying 4/3/2 pallets, the next stun will immediately destroy the pallet. |
 | Hubris | Each time a survivor stuns you, they will receive an exposed effect for 10/15/20 seconds. |
 | Brutal Strength | The destruction speed of pallets, walls and generators is increased by 10/15/20%. |
 | Enduring | Reduces the stun time by a pallet by 40/45/50%. |
Endgame
An old and proven (although rarely used by players) build. It is based on making it as difficult as possible for survivors to escape. Using it you can gain an extra few minutes to sacrifice survivors.
In Knight's case, the whole thing can be enhanced, with one of his power additions - the Iridescent Company Banner. It makes the guards able to block windows in time. But more importantly, it makes the survivor chased by your companion unable to leave the trial.. Thus, you can easily knock him down and activate the Blood Warden perk. However, you must keep in mind that this perk is in the Ultra Rare category, so you will not be able to use it often.
Icon | Perk | Function |
 | No Way Out | You get 1 token for each survivor you hang on the hook for the first time. The perk activates when you power up the exit gates. When a survivor interacts with the exit gate switch, you receive a notification and the Being blocks both exits for 12 seconds and another 6/9/12 seconds for each token held, up to a total maximum of 36/48/60 seconds. |
 | Remember Me | Each time the obsession loses health, you increase the time to open the exit gates by 4 seconds, up to a maximum of 8/12/16 seconds. |
 | Blood Warden | The perk activates when one of the exit gates is opened. At this point, the auras of all survivors located within the exit gates are revealed to you. Once per match, when the perk is active, hanging on the hook will lock the exit for 30/40/60 seconds. |
 | Hex: No One Escapes Death | When the exit gate is powered up and a Dull Totem still remains on the map, the Hex activates and causes:
These effects persist until the cursed totem is cleared. When the perk is active, the associated totem reveals its aura to all Survivors within a 4-meter radius and gradually extends this range to 24 meters within 30 seconds. |
0

Author: Agnes Adamus
Associated with gamepressure.com since 2017. She started with guides and now mainly creates for the newsroom, encyclopedia, and marketing. Self-proclaimed free-to-play games expert. Loves strategy games, simulators, RPGs, and horrors. She also has a weakness for online games. Spent an indecent number of hours in Dead by Daylight and Rainbow Six: Siege. Besides that, she likes horror movies (the worse, the better) and listen to music. Her greatest passion, however, is for trains. On paper, a medical physicist. In fact, a humanist who has loved games since childhood.
Latest News
- New on Steam, including a new game from IO Interactive veterans
- Half-Life 3 announcement may have been delayed for one very mundane reason. Insider has no doubt when Valve is going to reveal all the cards
- He appeared at The Game Awards 2025 for only 3 minutes and disappointed everyone. Todd Howard will have no peace until he satisfies fans of The Elder Scrolls 6
- How to get Herald of Zakarum in Diablo 4
- Biggest fans have no doubt. Terminator 2D: No Fate is „by far the best” game in the series. Other players, however, see nothing special in it


