LEGO The Lord of the Rings: Amon Hen
Characters: Frodo, Aragorn, Boromir, Gimli, Legolas, Merry, Pippin
Real Adventurer requirements: 45 000 studs
New characters to buy: Uruk-hai, Lurtz, Galadriel, Celeborn

You are once again in control of two different groups of characters. I'd recommend completing Frodo's part first, as it determines how far you can get with the other team. Just like during your first encounter with the Black Rider, you will have to trick your enemy once again. Despite the fact that Frodo's invisible, he will still be noticed if he steps onto a bush beside Boromir. Start off by picking up the stone beside you and throwing it into the highlighted bush to create a further path.

The next obstacle can be avoided by going through the narrow tunnel and pushing down the pillar. When Boromir runs further, you will be able to build stairs from the pillar's remains and use them to go around him.
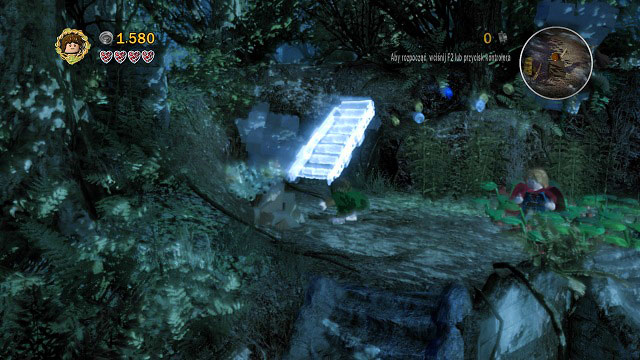
After breaking the boulder, you will receive a small rock which you can throw at the stone hand in the background. More phantom LEGO bricks will fall out of it - you can use them to build stairs which will take you around Boromir. On the rock ledge, hit the statue in front of you to open the further path.
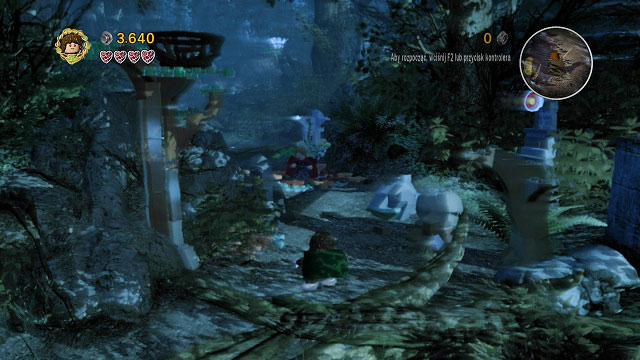
In this location you will have to break everything around you to gather enough phantom bricks to build a catapult. After assembling it, press (H) to hit the support and the catapult will create you a path. On your way you should pick up a stone from the road; you will you it to trick Boromir once again.
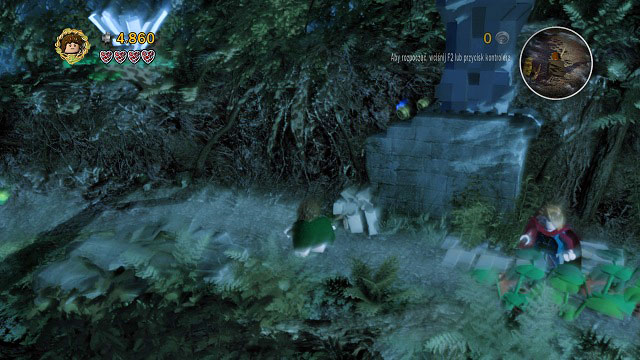
Hit the small boulder by your feet and you will obtain a small rock - use it to knock the phantom LEGO bricks from the branches. Use them to build a ladder and use it to push down a large pillar which will let you move on.
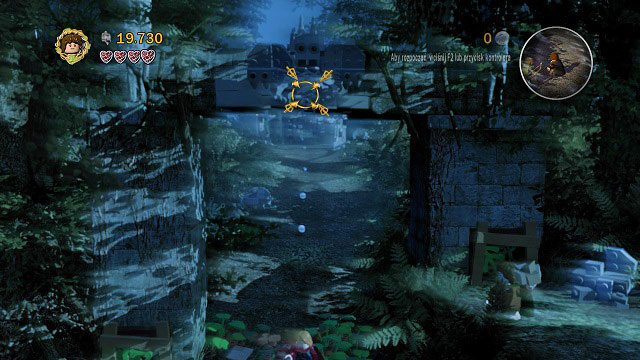
It's the last part of Frodo's trip. Use the narrow tunnel to reach the opposite rock ledge, break the boulder and take the small rock. One throw above Boromir will open a path to the end of the level. Just take off your ring and the rest of your team will be able to look for the Hobbit.
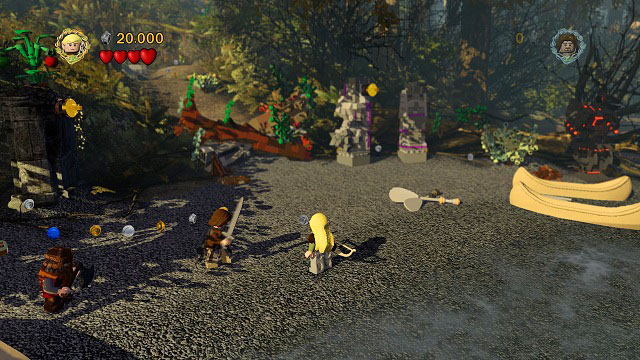
Time to search for the missing Hobbit. Start off by destroying the paddles on the ground to get a torch. Set fire to it from the bonfire in the left part of the location and use it to burn the logs blocking your way.
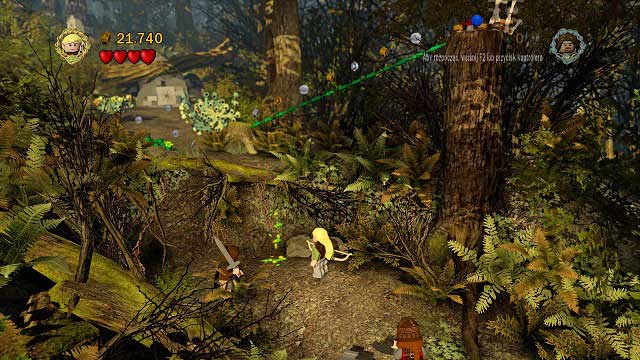
The next obstacle can be passed by using Legolas' skills. Use the leave to jump onto the higher platform and follow the vines onto the tree branch. From its highest point, you will have to shoot a target and therefore knock down a bird nest. From the bricks left you will be able to build a springboard thanks to which the whole team can get higher. A bit further you will have to use Gimli's axe to create a passage.
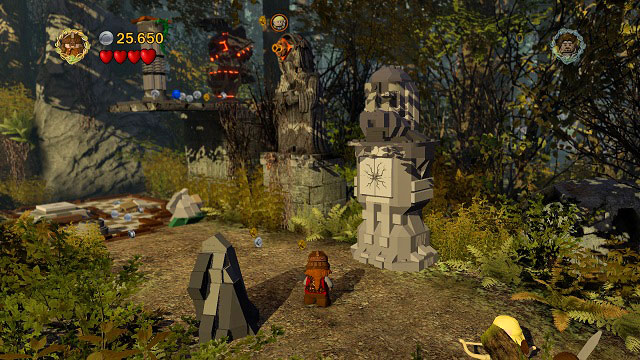
Time for a more complicated task. Pick up Gimli and throw him and the cracked LEGO brick which will unveil leaves and let Legolas get onto the top of the statue. Afterwards shoot an arrow to create a handle using which you can reach the next platform. There you just need to push down the pillar. Gimli should once again use his axe to destroy the cracked brick and build a smaller pillar from its remains. Afterwards switch both elements so that you can jump from the smaller onto the bigger nod from there onto the rock ledge in the background.
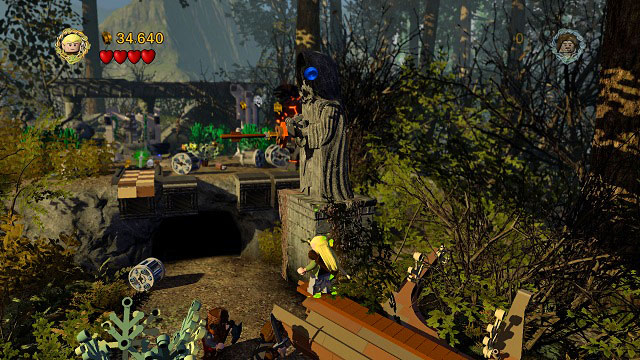
You will once again have to use Gimli's skills and destroy the two cracked bricks. Assemble the bricks on the ground and shoot an arrow. Leaves will appear, letting Legolas reach the handle and jump to the other side. There, from the bricks on the ground, build a small pillar and push it down so that the other characters can join the Elf.
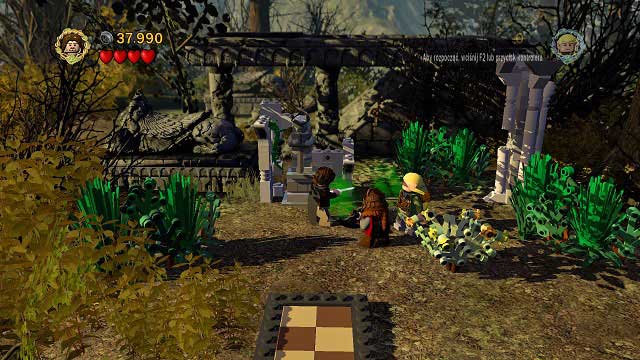
Time to show what Aragorn is capable of. Take out Frodo's sword from the ground and move along the traces on the ground in search of the Hobbit. You will know you're close when Aragorn start searching on his knees. You will know you found him when he starts digging in the ground.

Now it's time to look for Boromir. Firstly you will need to eliminate all Uruk-hai, especially those on the pillars as they're using bows. You can kill them by destroying the pillars they're standing on or attacking with Legolas' bow. Clear the location and do the same in the next one. On the last glade you will have to throw Gimli at a cracked brick to open a path to shielded Uruk-hai. Clear the area and a boss battle will begin.
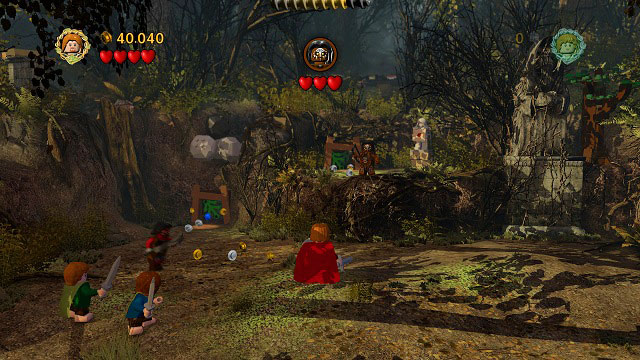
As you don't have ranged characters, you will have to use whatever you're left with. Choose one of the hobbits, enter the narrow tunnel and attack Lurtz (the boss). Uruk-hai reinforcements will block the tunnel, but a couple hits will make it accessible once again. Another trip to Lurtz will leave the boss with only one heart. Unfortunately the tunnel will be once again blocked, however a group of Orcs will knock down a tree on the right side of the arena - use its remains to build a spring-board and end this part of the fight. If any of the Uruk-hai manages to grab a Hobbit, change your character and hit the enemy so that he drops him.
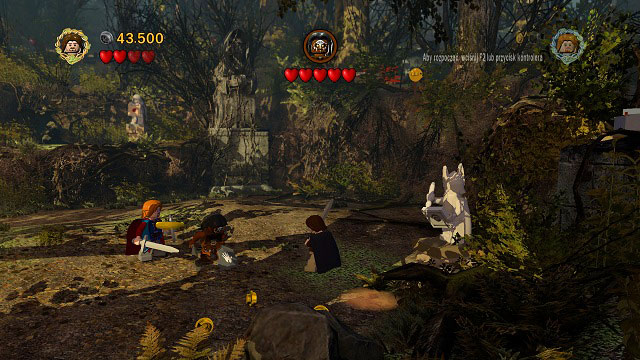
I'd recommend saving your game by the nearby statue. This time Aragorn will have to protect Boromir. This stage is even simpler than the last one, as you only have to avoid Lurtz's attacks and wit for the angry enemy to throw his shield. When he jumps down to regain his equipment, you can hit him and decrease his life. After a few hits Lurtz will decide to fight with you directly - nothing easier for experienced warriors. Should the enemy manage to grab one of your characters, switch to the other one and attack the boss. After a couple well-aimed attacks the boss will be defeated and you will end you adventure with the Fellowship of the Ring.
- LEGO The Lord of the Rings Game Guide & Walkthrough
- LEGO The Lord of the Rings: Game Guide
- LEGO The Lord of the Rings: Act 1
- LEGO The Lord of the Rings: Overall hints
- LEGO The Lord of the Rings: Prologue
- LEGO The Lord of the Rings: Middle-Earth Hobbiton
- LEGO The Lord of the Rings: The Black Rider
- LEGO The Lord of the Rings: Middle-Earth Bree
- LEGO The Lord of the Rings: Weathertop
- LEGO The Lord of the Rings: Middle-Earth Rivendell
- LEGO The Lord of the Rings: The Pass of Caradhras
- LEGO The Lord of the Rings: Middle-Earth The Gates of Moria
- LEGO The Lord of the Rings: The Mines of Moria
- LEGO The Lord of the Rings: Middle-Earth Lothlorien
- LEGO The Lord of the Rings: Amon Hen
- LEGO The Lord of the Rings: Act 1
- LEGO The Lord of the Rings: Game Guide
You are not permitted to copy any image, text or info from this page. This site is not associated with and/or endorsed by the developers and the publishers. All logos and images are copyrighted by their respective owners.
Copyright © 2000 - 2026 Webedia Polska SA for gamepressure.com, unofficial game guides, walkthroughs, secrets, game tips, maps & strategies for top games.
