DiRT Rally 2.0: Commands of the co-driver
Last update:
At first the messages of the co-driver on the rally track might seem a bit difficult to understand, especially when spoken one after another, in one swift sentence. From the guide to DiRT Rally you will learn how to understand the commands of the co-driver and quickly and efficiently pass the rally stage.
The key to a quick and crash-free drive through a rally track in DiRT Rally 2.0 - especially during the first contact with the game and the available rallies - is to listen to the co-driver's commands. What initially might seem like a strange cipher, thoroughly describes the path ahead and how you should behave. The co-driver informs you at what speed you should enter the corner, how tight the turn is, how long the straight ahead of you is and whether there are any surprises, like rocks, potholes - awaiting you.
Listening to the co-driver during the rally is crucial, as the driver is a bit like a sapper - one major mistake and the car will be turned into a wreck, incapable of further use. You cannot memorize the track, you do not have a wide, asphalt track or plowed field in front of you that you can safely fall out to in case of a mistake. Only narrow corridors, full of trees and boulders, awaiting you on a rally track. It is crucial to be ready for what lies behind the next corner - and you only have seconds to do so.

The list of commands is not overly complicated or long. The biggest difficulty, however, is to memorize whole sequences of turns, happening one after another. Special icons appearing on the screen help with the task - but you can also turn them off for better immersion and realism. The co-driver tips can be divided into the main ones - concerning turns - and all the rest.
Turns
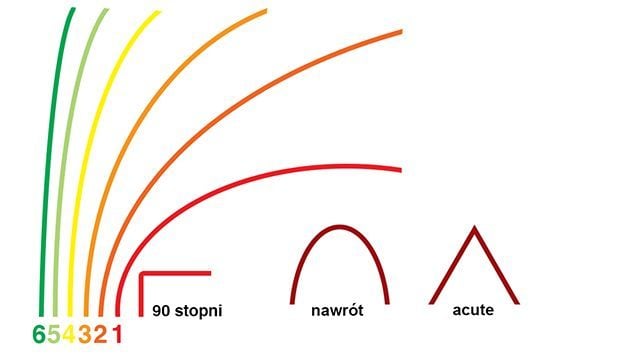
Turns are dictated with the indication of the direction - "right" or "left" - and the tightness level - ranging from 6 to 1. The higher the number, the softer the turn. In addition, there are hairpins, i.e. change of direction by 180 degrees, 90 degree turns (square) and the tightest versions called acute.
 ?
?
A graphic visualization of different turns.
Each turn requires different preparations and, of course, a different technique to overcome it. Here is how individual numbers translate into the way you will be driving. Think of them as quite general outlines, not strict requirements, as each turn is slightly different and might require different approach.
Icon | Type of turn | Description |
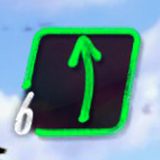 | 6 | A very gentle curve, possible to drive through with pedal to the metal and with gentle movement of the wheel. |
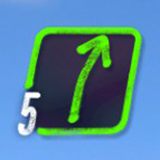 | 5 | Also a gently curve, in most cases requiring you to ease off the throttle a little. |
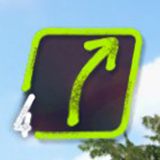 | 4 | A delicate turn - you will need to slow down a bit or even lower the gear. |
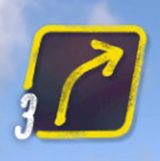 | 3 | A classic turn - prepare to brake, lower the gear or enter the turn with a slight slide. |
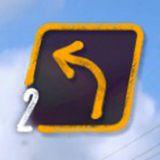 | 2 | Similarly to number 3, but you must drive even slower. |
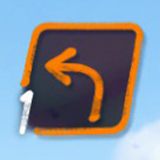 | 1 | A very tight turn - prepare to brake before it and reduce the gear even to the first one. Remember that the speed of leaving the turn is more important than the speed of entering it. |
90 degree (square) | A turn very similar to number 1, drive through it on gear 1. Remember that the speed of leaving the turn is more important than the speed of entering it. | |
Acute | The most extreme change in the direction, in most cases the route takes the form of the letter "V". | |
 | Turnaround (hairpin) | An U-shaped turn - prepare to make a 180-degree turn, preferably with a slight skid. |
Remaining commands of the co-driver
Aside from different types of turns, the co-driver will also notify you about their length, the distance to them, the width of the route or various obstacles. These are the most important ones:
Icon | Command | Description |
 | Tightens | The turn or the road becomes tighter at the exit. |
 | Opens | The turn or the road becomes wider at the exit. |
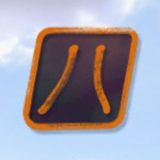 | Narrow | The road becomes particularly narrow. |
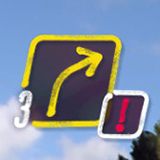 | Caution - exclamation mark | Be careful, easy to make a mistake or crash. |
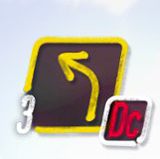 | Don't cut - DC | Do not cut the turn on the inside - boulders and other obstacles possible. |
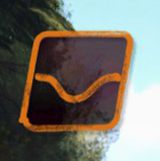 | Deep | A sudden depression on the route, holes. |
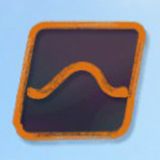 | Jump, over jump | Possible jump and loss of grip - get ready for a good landing. |
 | Into | A connector for the next turns following the previous one. |
 | Sixty, thirty, etc. | The length of the turn, straight in meters or the distance to the next sequence of turns. |
None | Maybe | The decision whether to drive more carefully or at full speed is up to you. |
None | Over crest | The road goes uphill. |
None | Unseen | A tight turn just after another tight turn, a hill, trees, etc. |
None | Keep left | Stick to the left side. |
None | Keep right | Stick to the right side. |
None | Flat | A route without hills and potholes, you can often put pedal to the metal. |
None | Through gate<br>Bridge | A warning about a narrow passage through the gate or a small bridge. |
None | Chicane | A narrow passage with a zigzag between bales or other obstacles - reduce the speed to minimum. |
None | Cut | You can cut the turn on the inside to gain some time. |
You are not permitted to copy any image, text or info from this page. This site is not associated with and/or endorsed by the developers and the publishers. All logos and images are copyrighted by their respective owners.
Copyright © 2000 - 2025 Webedia Polska SA for gamepressure.com, unofficial game guides, walkthroughs, secrets, game tips, maps & strategies for top games.
