Company of Heroes Tales of Valor: Mission 3 Exodus - part 1
Main missions:
- Evacuate from Trun.
- Regain the garrisons.
Additional missions:
Medal missions:
- Make sure that everyone evacuates.
Defending Trun is the first mission in this scenario. It will be updated from time to time with new tasks. You probably have some infantry units under your disposal; there are 88mm cannons posts built in some spots of the map (on the south shore of the river, one before the main bridge, near the church and the second one before the south-east crossing). The church and the building behind it are of course bases where you can recruit more units - infantry in the temple and in the building behind: Goliath mines, SdKfz 251/1 armoured transporters and 50mm anti-tank field guns. However one of the 88mm cannons should be additionally standing near the building, next to it you will also find two 150mm rocket launchers (Nebelwerfers). Man all three with your worst infantry, recruiting more to fill up the gaps if necessary. Another 50mm gun and a Nebelwerfer can be found in the south-east corner of the map, near a garrison. Send an infantry team there (be quick about it!) to man both guns. As for your other infantry units (also the ones that you will recruit later in the game!) with the weapons lying in the white circles, usually located near the garrisons (the weapons will "respawn" after some time). I think I don't have to remind you, that the panzerschrecks are the most important? However man some MG-42 machineguns and 81mm mortars as well. Oh, do remember, that the main bridge near the church has a magic ability of self-repairing, about which the game will remind you with a blue icon on the left side of the screen. Your main task in this scenario is to make it possible for your "yellow" allies to evacuate from the area. A long column of German survivors will be crossing half of the map, showing up in the south-east corner and leaving using the road which ends far in the west/south-west. Send your men to the posts wisely.
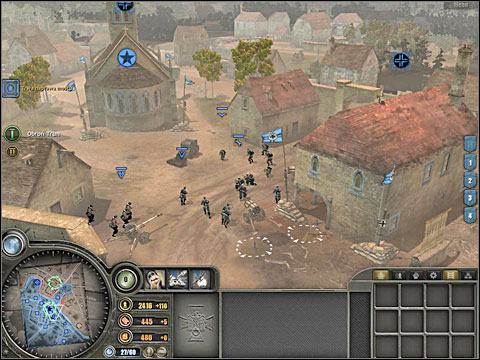
The main task will be quite quickly updated to "stop the Canadian attack", who will try to cross the river on the south-east. Send your first units there - place some infantry units in the houses before the crossing (including the garrison building), the mortar, machinegun and Nebelwerfer units behind the nearby walls (the rocket launchers a little in the back, so they won't get destroyed too fast). You should have an 88mm cannon post in between the buildings (if it's not here, quickly place one with the Luftlande). Place and camouflage a 50mm anti-tank gun or the right (behind the hedge). This way the anti-tank guns will be shooting the Canadian armoured transporters from both sides. As for which rocket launcher and cannon you should get here the answer is - the closer ones (probably the ones from the south).
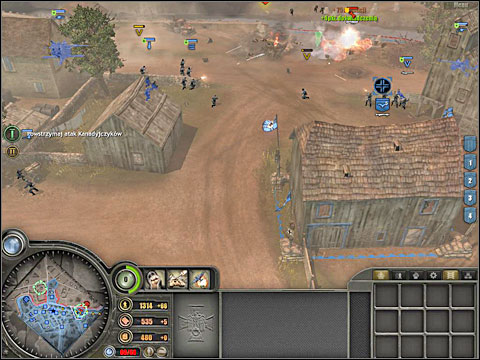
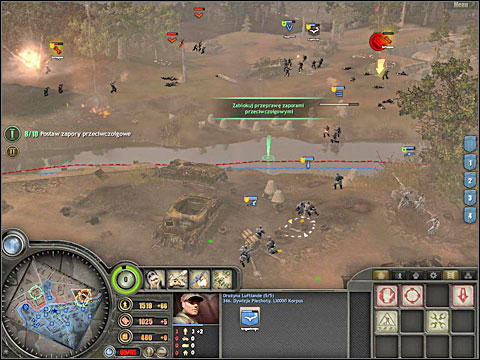
The Canadian offensive (as far as I remember, it will be divided into a couple of waves) should be quickly stopped by your units. Once the fights stop, you can try and take over the ammo depot on the north, right beyond the crossing. Just use the forces that were defending until now. Aid your attack with rocket and mortar fire, aimed at the Canadian trenches, placed near the woods. At this point it's worth having the "fire storm" support, which you can buy using your experience points. Call this artillery strike to the wide passage in between the woods, a little bit further to the north - there will be probably enemy units trying to cross it. It's also worth to motivate your own infantry, by buying the adequate improvement. The game will update the task once more - you will have to jam the crossings with anti-tank barriers. Use one of your units on the back, let's say the sappers to do it - I'd suggest building one line of fortifications directly behind the crossing. However it's wise to leave a small hole (on the right side) so that your anti-tank guns can squeeze through it to the other side. You have probably guesses, that they will aid the defence of the newly regained ammo depot. Take it over with one of your teams, place a machinegun unit in the nearby garrison with a mortar (you will be able to use it later on) and put a mortar section and a Nebelwerfer somewhere behind the bunker. The infantry units should be put right in front of the bunker, behind the best cover you can find.
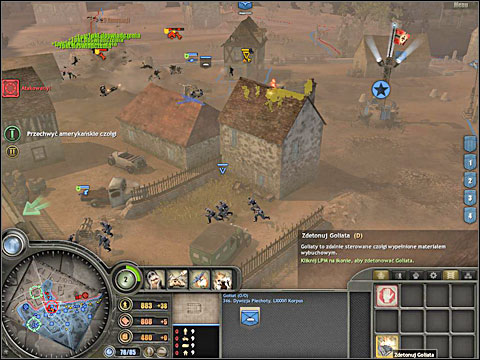
The next mission is to defend the escape route - the green circle showing the target on the map will be moved to the fork of the roads near the church. By now the Allies will probably finish repairing the bridge and will try to cross it. Before that they will most likely shell the fork behind the bridge, destroying the 88mm cannon post. It's good to have a Luftlande unit in the area, so they can build another one after the bombarding stops. As for those bombardments, it's quite easy to know where the next one will occur - right before, a red icon will appear on the left side of the screen, warning about it - clicking it will move you to the place which will be bombarded, with some flares of the same colour already there. So if you see them nearby, it's worth to retreat your units from the area for a while, for them not to get damaged. The infantry inside the buildings can stay where they are, the 88mm cannon cannot be moved (if anything is left from them after the bombardment, you can send a Luftlande unit to repair them). Generally it's not worth keeping too much units in this part of the map, but you can use one of the Nebelwerfers (kept a little in the back) to destroy the bridge after each repair, preventing the enemy from using it. Ff some enemy units will get to your side (you will be then given a task of pushing those Americans back), you can detonate a Goliath (the mine), "produced" in the building behind the church. However the Goliath materializes not by the house, but on the road in the south-west corner of the map, so it has to travel some distance to get to the spot. Note, that your allies (marked yellow on the screen) are evacuating through the fork and can aid you in your fight with the enemy.
You are not permitted to copy any image, text or info from this page. This site is not associated with and/or endorsed by the developers and the publishers. All logos and images are copyrighted by their respective owners.
Copyright © 2000 - 2025 Webedia Polska SA for gamepressure.com, unofficial game guides, walkthroughs, secrets, game tips, maps & strategies for top games.
