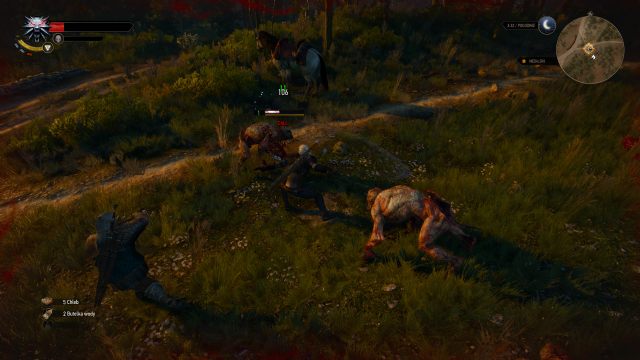
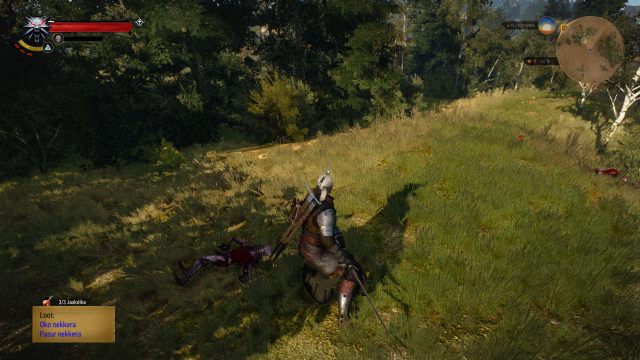
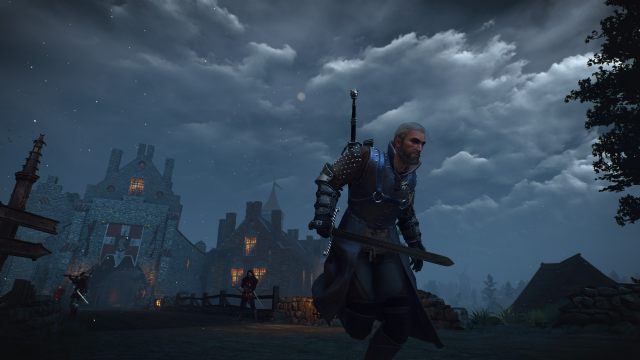
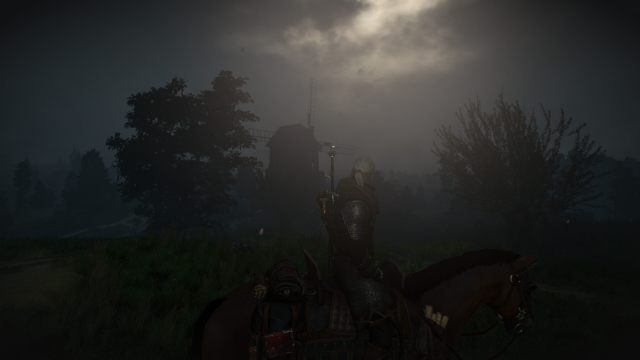
The best mods for The Witcher 3: Wild Hunt - September 2015
How to mod The Witcher 3? Which of the mods are worth the time? We’ve chosen for you the best there is from the modding community.
The third Witcher may be less than six months old, and the Official Mod Kit was released just recently, but the members of the gaming community have been very busy working on new, homemade improvements ever since the game’s launch. However, while the CDPR systematically enhances their already ridiculously rich game with new patches, the fans – eager to keep The Wild Hunt alive for as long as humanly possible – are never content with the amount. And so they were, are, and will keep making user content for the game; the list of available original mods has already topped 500 items.
We’ve picked for you the best among them – those that change The Witcher’s visuals, mechanics or add smaller, but crucial, and often very welcome changes. All of the mods in this selection are compatible with the latest version of the game (1.08.4), and since most of them are being constantly improved, future compatibility problems, stemming from official updates, are rather unlikely.
Modding The Witcher 3
The Witcher 3 supports the content available on Nexus Mods website. This means, you can download the mods using the Nexus Mod Manager software (later on referred to as NMM).
NMM allows you to automatically enable the mods (in case of The Witcher 3 this means unpacking them and placing in the Mods folder, located in the game’s main directory). Unfortunately, that’s as far as the automatic will take you – any additional steps necessary to ensure the proper working of some of the mods (like overwriting files outside the Mods folder) can be found in instructions under the individual mod’s description.
Using the Nexus Mod Manager

1) Download and run the Nexus Mod Manager software.
2) Wait until it finishes scanning your drive for games or cancel the scan and choose the game manually.
3) Select the modification in the Mods tab (the mod itself may be placed in an automatically generated subfolder) and click the blue puzzle icon with a green arrow (second one from the top) – this will enable the mod in the game.
ATTENTION: To download files from Nexus Mods you need to have an account there.
The Witcher 3 doesn’t support the .esp files, used in Skyrim for example, consequently some of the mods need to be installed manually. Manual procedures are described in detail in the “How to install” section of individual mods.
How to use the Script Merger?
Script Merger is a piece of software that can check the compatibility between various Witcher mods and ensure it, if need be.
If a particular mod requires you to use the Script Merger, you will find an appropriate note in the “How to install” section. However, you should also remember that Script Merger can come in handy in case any other mod not listed in this selection causes compatibility issues – it could save you a lot of time.
Because the interface and usage of this software can cause some problems, we’ve prepared a short user guide for you.
- Download the program here (choose download manually)
- Enable all the relevant mods using the NMM and run the Script Merger, then select the game’s installation folder.
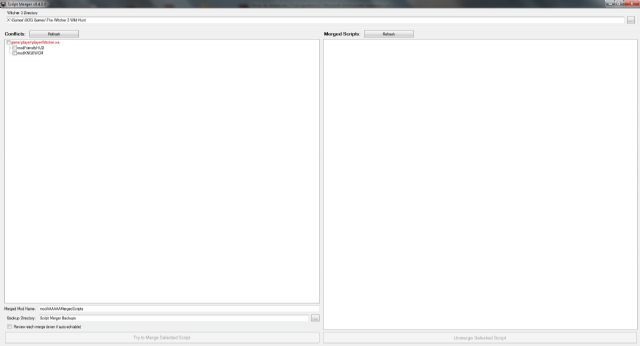
- Click Refresh. If the application finds a compatibility issue, it will appear in the Conflicts field (see the screenshot below). Otherwise you will be informed that there were no conflicts and you can enjoy the game.
- Select the incompatible mods and click the Try to Merge Selected Script button, located below.
- If it is possible to resolve all of the conflicts automatically, the application will do it for you, and the mods will be moved to Merged Scripts field. Otherwise, the KDiff3 software window will appear, informing you which issues couldn’t be resolved. Click OK.
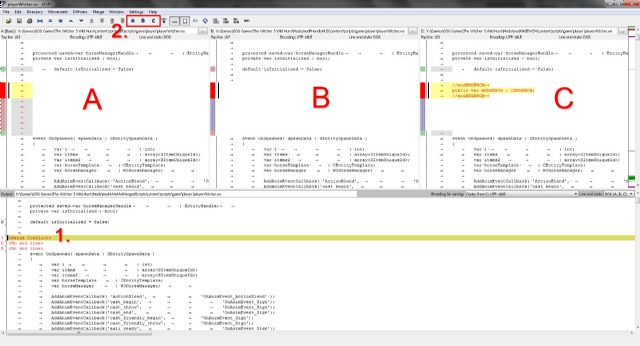
- To resolve the remaining issues click <Merge Conflicts> and select all the red columns that signify incompatibility – you can do this by choosing the appropriate letters (A/B/C) from the menu above (next steps are shown on the screenshot below)
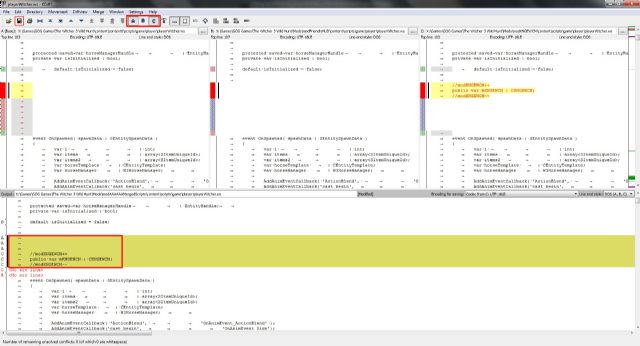
- As a result, instead of <Merge Conflicts> you will see lines of code, and the program will enable you to save the file (see the screenshot below).
- After saving the file, you can close the application. Script Merger will then display information about having created backups of modified files and report that no conflicts were found.
- If you would like to remove a mod merged by Script Merger, remember to click the Unmerge Selected Script button. Otherwise, the mod (even after being disabled in NMM) will remain in your Mods folder and will have to be deleted manually with the whole subfolder.
Horse Riding in First Person – FPP on horseback
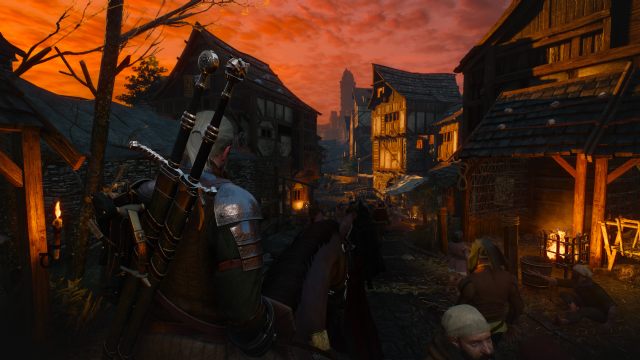
If car is a vehicle, then so is Roach. Vehicles in racing games always have a driver’s seat view. Roach, on the other hand, lacks a saddle view. Until you install this mod, that is. Horse Riding in First Person allows you to feel the wind in your face and admire the vast landscapes from the eyes of the White Wolf, while cantering through the world. During combat, the view automatically returns to the third person perspective. Travelling the world has never been so immersive before.
Creator: insane0hflex
How to install: Download and enable using the Nexus Mod Manager.
Disable videos – turning off the intro and the storybook videos
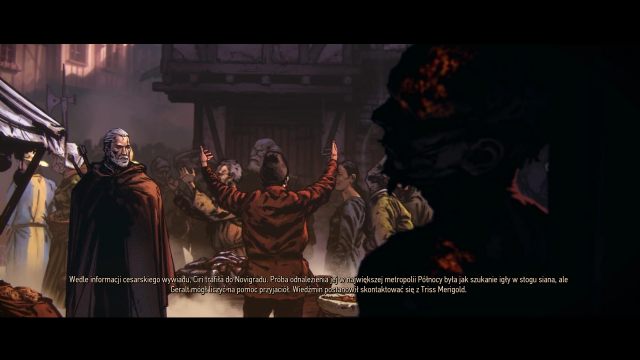
Dandelion accompanies Geralt on every occasion, reporting Geralt’s actions to the player when you launch the game, save the game or travel across distant locations. He’s a nice guy, but honestly, hearing the same things for the hundredth time teaches something about the timeless value of silence. The Disable Intro and Storybook Videos Mod is the way to achieve it – the mod turns off the animated intro as well as the drawn cutscenes displayed during loading; it will also reduce loading time for SSDs.
Creator: zanderb14
How to install: Download the mod manually. Backup the movies.bundle file – located in path: [game_folder]\content\content0\bundles – and the bumpers.usm file – located in path: […]\content\content0\movies\cutscenes\gamestart. Then, copy the contents of the relevant mod folder (first of them disables all cutscenes, the second one – just the intro, and the third one – only the drawn cutscenes) into: […]\content\content0\bundles, and then run the .bat file. Delete the bumpers.usm file.
Slots, Slots, Slots – more active abilities
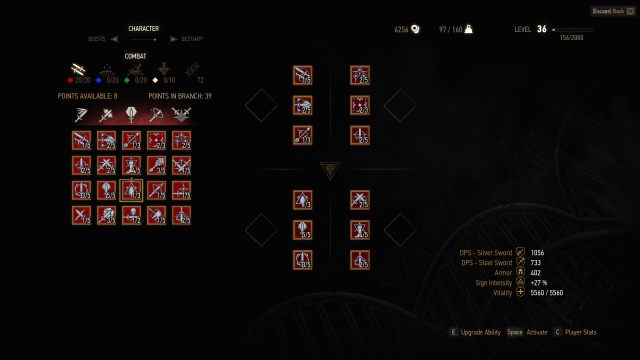
Many gamers were upset with the third installment’s decision to limit the number of active abilities to nine, which forced us to pause the game more often to replace them as needed. Slots, Slots, Slots increases the capacity of Geralt’s ability tree up to eight times, allowing you to place additional skills in hidden slots. Additionally, the mod offers the option to unlock the nine default “pockets” without leveling up (if, for example, we began the game anew).
Creator: Zur13
How to install: Download and enable using the Nexus Mod Manager.
Fast Travel from Anywhere – exactly what it says on the label
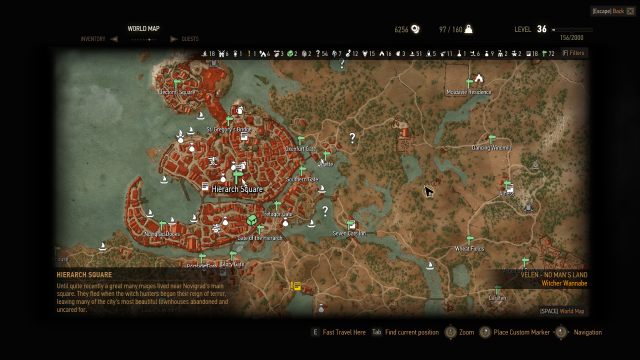
Fast Travel system based on road signs, requiring you to find one in case you need to cover a bigger distance, is not the most modern solution and can eventually get tiresome. The Fast Travel from Anywhere mod enables you to (yeah, you guessed it) rebel against the road sign dictatorship (or did you?) and travel from middle of nowhere to any other location of your choosing and back again, which saves a lot of time and does wonders for the overall pace of your adventuring.
Creator: JupiterTheGod
How to install: Download and enable using the Nexus Mod Manager.
Random Gameplay Tweaks – immersion up
Random Gameplay Tweaks is a mod that, as a standard, enables you to change the camera’s distance from Geralt in the default perspective during exploration, horse riding, combat, sailing or using the Witcher Sense. Additionally, it offers some optional packages, allowing for things like galloping through the streets of Novigrad or sprinting indoors. Furthermore, if you’d like to see Geralt’s ability to run long distances, you can also disable fatigue depletion – everything to provide a smooth, cinematic experience.
Creator: pMark
How to install: Download (along with additional packages) and enable using the Nexus Mod Manager.
Dynamic Enemy Scaling – game difficulty based on Geralt’s level
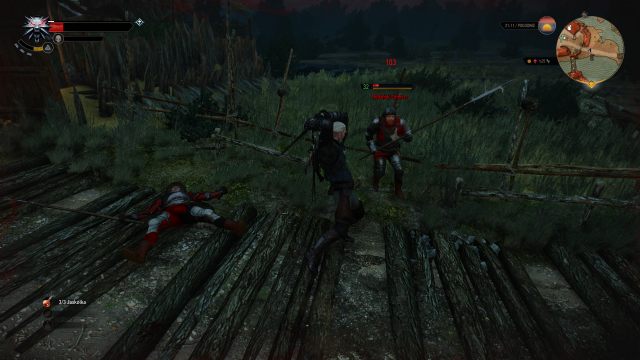
Ever get tired and irritated over those situations when a random drowner or a lousy grunt from Nilfgaard puts down a seasoned witcher? The creator of Dynamic Enemy Scaling understands you. That’s why he decided to make a mod that adjusts the level of all enemies to match the current level of the White Wolf. Now, the enemies provide a fair and moderate challenge, and the leveling – thanks to the refurbished ability point awarding system – becomes more dynamic, significantly reducing the boredom factor and the feeling of pointlessness that are traditionally affiliated with the victory over a weaker opponent.
Creator: Reaperrz
How to install: Download and enable using the Nexus Mod Manager. You don’t have to begin a new game.
Better Combat Enhanced – combat system rebalanced
A complex mod, completely rescaling the game’s difficulty level by means of rebalancing available abilities, changing the stats of weapons, armor, signs, mutagens, potions and oils, and increasing enemy’s health. Other than providing a real challenge for the more demanding players, Better Combat Enhanced introduces a bunch of improvements to gameplay mechanic, i.e. it enables you to use all skills from the very beginning. However, for each gameplay assistance there are multiple handicaps. Something for people who find even the NG+ unsatisfying in terms of difficulty.
Creator: Amioran
How to install: Download manually. Run Setup.exe, then select the Create restore file option and click Install. To make sure that the mod works properly, you’ll need to start a new game.
AutoLoot – automatic pickup of items and ingredients
Picking up stuff in The Witcher 3 is a repetitive and tedious task. AutoLook streamlines the process, allowing you to gather all ingredients (from things like bushes) with a single click – no need to choose which specific one you’d like to pick. The same thing happens when searching chests or drawers, and the “contents” of your enemies are automatically added to your inventory after you defeat them. The mod will also prevent accidental stealing, displaying the old loot selection window and allowing us to choose the specific item we’d like to help ourselves to.
Creator: JupiterTheGod
How to install: Download and enable using the Nexus Mod Manager.
Photo Mode – make your own arranged screenshots
Photo Mode is a mod from the beginning intended for people who like to save gameplay moments for future generations – it allows you to add screen effects, change weather conditions, slow down or speed up the time, while retaining the full responsiveness of the camera. Arranging and shooting the thoroughly planned scene from your dreams requires nothing more than pressing a few keys on the keyboard, but the artistic value of your work will be immense.
Creator: CAPA14
How to install: Download manually. Place the Mods folder in the game’s main folder and – if necessary – overwrite the contents (this will have no effect on other mods). Backup the input.xml file - located in path: […]\bin\config\r4game\user_config_matrix\pc and overwrite it with one from the mod folder. Then, backup the input.settings file - located in: Documents\The Witcher 3 and overwrite it as well. The mod’s functions will be assigned to keys on the numpad.
ATTENTION: The mod is incompatible with many mods from this selection. To ensure that Photo Mode works properly, you need to use the Script Merger. To make the mod work with the Friendly HUD mod, after overwriting the input.xml and input.settings files, some additional lines of code must be added to them. These are specified in the “How to install” section of Friendly HUD.
Extreme Weather Conditions – add some thrill to the weather
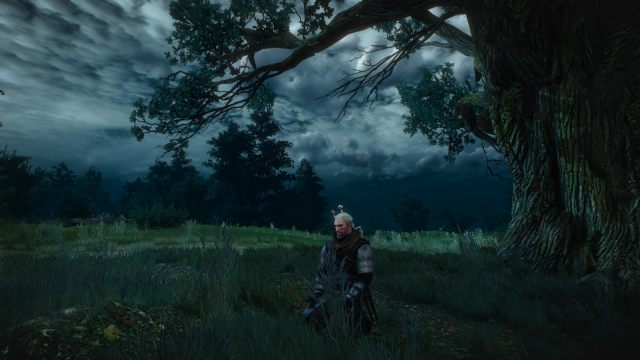
Extreme weather conditions: tornados, squalls, cyclones… are things you won’t be seeing in Extreme Weather Conditions, but it can deliver intense lightning storms, raging gales, nearly impenetrable mists or downpours with amounts of water you’ve never seen outside of Skellige. The mod is bound to be loved by people who would like to stress the dark fantasy elements of the Witcher’s setting. Maybe the stormy clouds cannot hurt Geralt directly, but they sure can affect his surroundings.
Creator: KNGR
How to install: Download and enable using the Nexus Mod Manager.
Friendly HUD – hiding the interface… and more
The immersion in The Witcher 3 can be easily broken with the overgrown user interface that covers the screen . The Friendly HUD mod lets you get rid of it with a single key. It will also enable you to display a 3D objective marker, meditate in real time or toggle the auto-refilling of potions. The mod has also an option that allows you to bind its functions to the keys of your choosing.
Creator: wghost81
How to install: Download and enable using the Nexus Mod Manager. Then, backup the input.xml file - located in path: […]\bin\config\r4game\user_config_matrix\pc and edit it with notepad. Find the line: <!-- [BASE_CharacterMovement] --> and before that line add the following:
<Var builder="Input" id="QuestMarkersToggle" displayName="QuestMarkersToggle" displayType="INPUTPC" actions="QuestMarkersToggle" />
<Var builder="Input" id="HUDToggle" displayName="HUDToggle" displayType="INPUTPC" actions="HUDToggle" />
<Var builder="Input" id="RefillPotionsToggle" displayName="RefillPotionsToggle" displayType="INPUTPC" actions="RefillPotionsToggle" />
<Var builder="Input" id="PauseGameToggle" displayName="PauseGameToggle" displayType="INPUTPC" actions="PauseGameToggle" />
Save the file. Then, backup the input.settings file located in: Documents\The Witcher 3 and edit it using the notepad. Find the line: [Exploration] and after that line add the following:
IK_F2=(Action=QuestMarkersToggle)
IK_F3=(Action=HUDToggle)
IK_F4=(Action=RefillPotionsToggle)
IK_F11=(Action=PauseGameToggle)
Save the file. The basic functions of the mod will be assigned to F2, F3, F4 and F11 keys.
ATTENTION: The mod is incompatible with many mods from this selection (especially with the Photo Mode mod). To ensure that Friendly HUD works properly, you need to use the Script Merger.
1000 Times Better – visual touch up
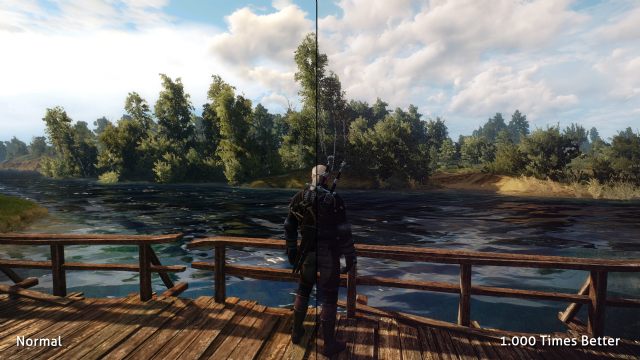
Not everyone likes spectacular visuals – some of us prefer toned down, subtle shifts, often unrecognizable at first sight. 1.000 Times Better mod reduces the game’s color saturation, improves HDR effect and darkens the nights, making the landscapes give off a more natural vide and makes the interiors more ambient. The mod doesn’t use up a lot of resources (especially if you turn off the additional antialiasing options), and even moderately powerful GPUs should be able to handle it.
Creator: RainyNguyen
How to install: Download manually and place the files in the [,,,]\bin\x64 subfolder. The effect can be toggled with the Scroll Lock key.
Ultra Low – running The Witcher 3 on (be)low-end specs
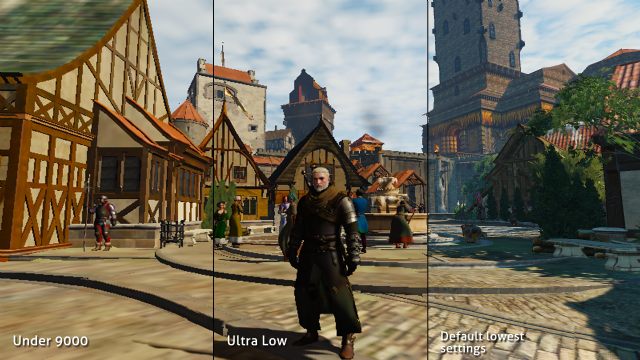
Perhaps your hardware is not powerful enough to display The Wild Hunt in its whole glory. No worries – we all know that a good RPG doesn’t need to rely on visuals. Therefore, if you’d like, you will be able to experience story with this Ultra Low mod, which utterly annihilates the visual experience, transforming The Witcher into original Gothic’s half-brother, but, on the other hand, makes it possible to run the game even on unthinkably weak specs. There are two versions available – Ultra Low and Under 9000; the second one (as highlighted by its creator) is intended for VERY desperate people.
Creator: Hasukiii
How to install: Download manually. Backup the rendering.ini file - located in path: […]\bin\config\base and overwrite it with the one from the mod folder. Then, backup the user.settings and user.settings.bak files – located in: Documents\The Witcher 3. Overwrite the first one with the file from the mod folder, delete the second one.
Super Turbo Lighting – improved lights
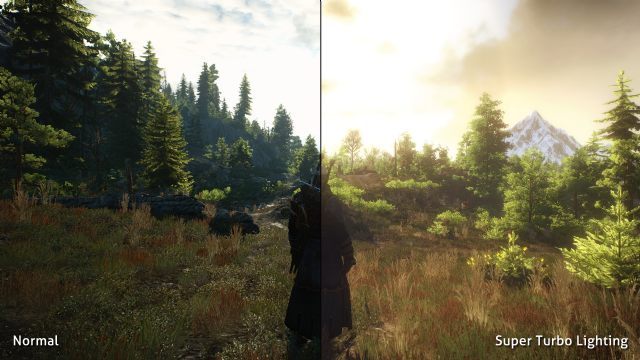
The right mood for those long, solitary travels through the vast world can be achieved with Super Turbo Lightning – the mod that changes the intensity and color of the lights, making them more natural and ambient. It will also add some bells and whistles to the cutscenes lighting and signs casting effects, and although the mod is still being tested, the visual experience it offers is more than enough to forgive some occasional glitches.
Creator: essenthy
How to install: Download manually. Copy the modTurbolighting folder to: […]\Mods. If you’d like the visuals to become a bit darker, copy modColdcolors as well. For the best effect, we suggest turning off the Light Shafts option.
E3FX – improved visuals
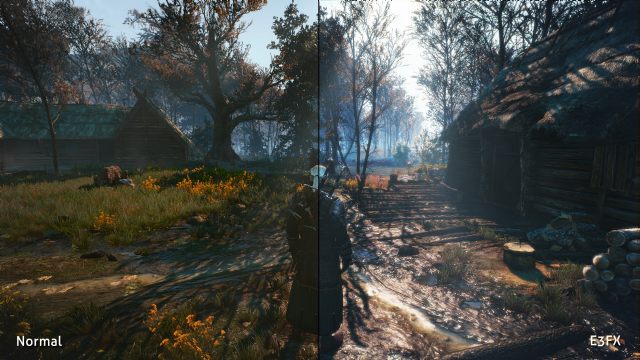
I think we all agree that (in spite of the downgrade controversy) The Witcher 3 is a beautiful game. Except maybe sometimes – and especially if your hardware is up to the challenge – you would like it to be even more beautiful. Here’s where E3FX mod comes into play. With this visual mod the game will look nearly identical to the one we’ve seen on that famous, jaw-dropping trailer released back in 2013. The mod sharpens textures, removes the yellow-ish screen filter, and does some magic with the bloom effect. It’s available in three versions, offering various intensity of effects.
Creator: Drogean
How to install: Download manually and place the contents in the […]\bin\x64 subfolder. The effect can be toggled with the Scroll Lock key.
